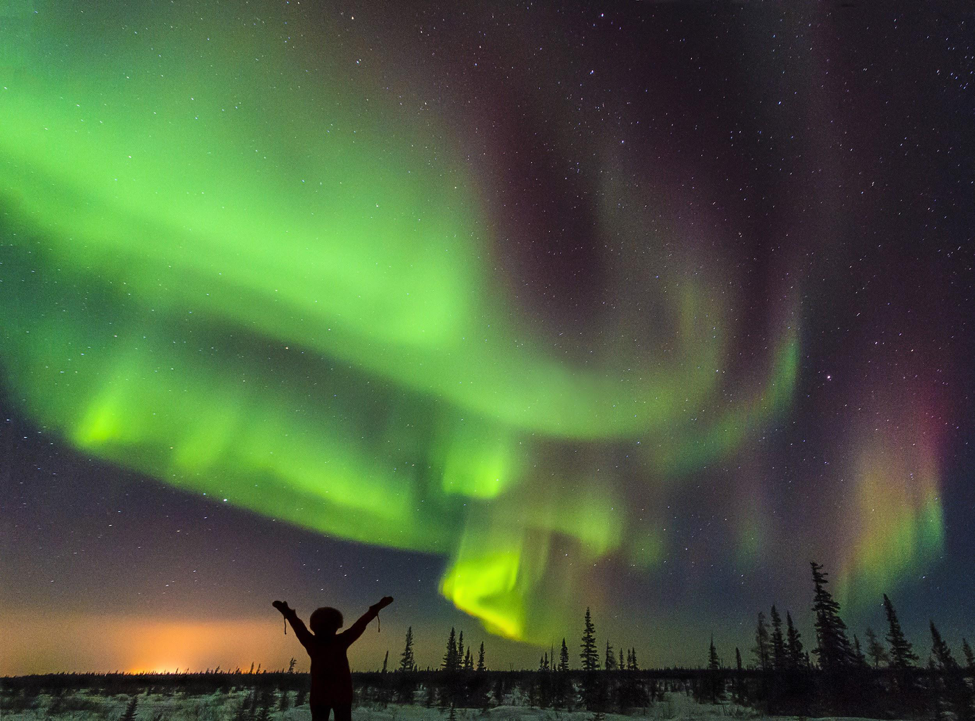
Do you know what is on most people’s bucket lists? Seeing the northern lights! In fact, maybe seeing them is on yours. So when you finally get to see them in person, dancing across the night sky, you'll want to capture them on camera. And not just capture them — anyone can take a picture — but have fantastic photos that bring you back to the very moment you saw them for the first time.
You can get incredible images of the aurora borealis — if you know a few things. Here are 5 helpful tips for photographing the northern lights from a professional photo guide, Jessica Burtnick:
1. Make sure you have the right gear.
Don’t be fooled by what you see on social media — your iPhone isn’t going to take the same quality picture as a DSLR. Sure, smartphones have come a long way since the days of flip phone cameras, but if you’re going all the way to Canada’s North to see the northern lights, you’d probably like to come home with some professional-grade photos.
Fear not! With the right kind of camera, a few accessories and some practice, you can ensure your pictures will be wall-art quality.
First thing’s first, your camera. Smartphones really won’t cut it for the northern lights. You can definitely use a compact digital camera, but a DSLR (Digital Single Lens Reflex) camera is even better. Add on a “fast” lens of around F2.8 or less, and you’re on your way to getting professional-grade photos.
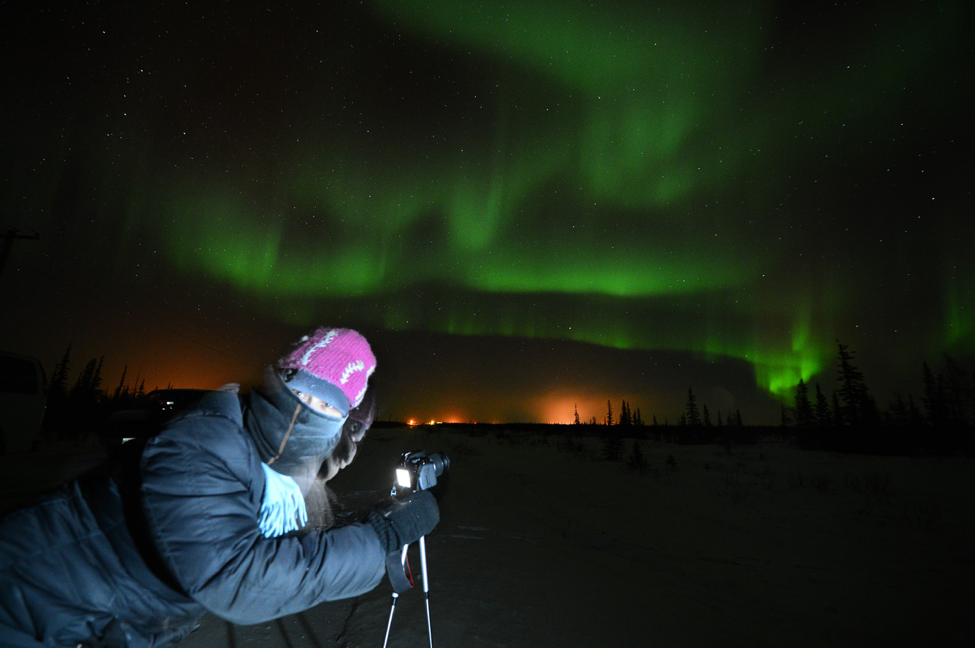
A good camera can actually ‘see’ the northern lights better than the human eye, but you’ll want to avoid blurry photos by bringing a tripod. It serves not only to steady your camera handsfree, but also gives you the freedom to move about and look at the lights for yourself (instead of through a lens!).
Don’t run out of memory space for your pictures! Bring multiple memory cards at smaller capacities, rather than one memory card with a large capacity, to make sure you have enough space for all of your photos (and don’t have to worry if one should get damaged or misplaced).
Finally, the cold atmosphere will drain your batteries faster than usual. Be sure to have extras on hand, recharge them at every opportunity and keep them warm in your pocket.
2. Yes, you should “dress” for the occasion.
It gets pretty cold at 58 degrees latitude. Like -15°C (5°F) to –25°C (-13°F) cold! You can’t forget about the windchill either, as strong Arctic winds can make the temperature feel much colder. And as wonderful as seeing the northern lights is, they can’t warm you up.
Make sure you always check the weather conditions prior to your photography experience. Being out in the frigid temperatures for an extended period of time means you need to prepare for the elements.
Head coverings are essential for staying warm. As the head is sensitive to temperature changes, keeping it covered helps when the temperature drops. Be sure to pack a warm toque (what Canadians call a wool cap or beanie) that covers your ears and bonus points if it is made out of a windproof material.
Layers are your best friends on the tundra — seriously! Each layer helps trap your body heat to keep you warm. Your base layer should be made of a moisture wicking material, keeping you dry. On top of that layer, add garments made of fleece or wool for warmth.
When dealing with snow, an outer coat that is water repellant makes a difference. Down-filled coats tend to be the warmest.
And of course you’ll need something for your hands. Try wearing gloves under a pair of mittens. If you have trouble using your camera with the mittens, you can temporarily remove them and just use your gloves.
Finally, be sure to pack a few extra pairs of socks. If your feet sweat, no matter how warm your socks are, your feet will be cold. Changing into a fresh pair of socks will ensure your toes stay toasty while photographing the northern lights.
3. There’s not just one way to photograph the northern lights.
Depending on the ISO, shutter speed, aperture, flash, etc., of your camera, your picture’s end result can differ dramatically. ISO has to do with the light sensitivity of your camera. Generally, when photographing in the dark, you’ll want to have a higher ISO, around at least 1200, though if your camera can go even higher, say 1600-2000, go for it.
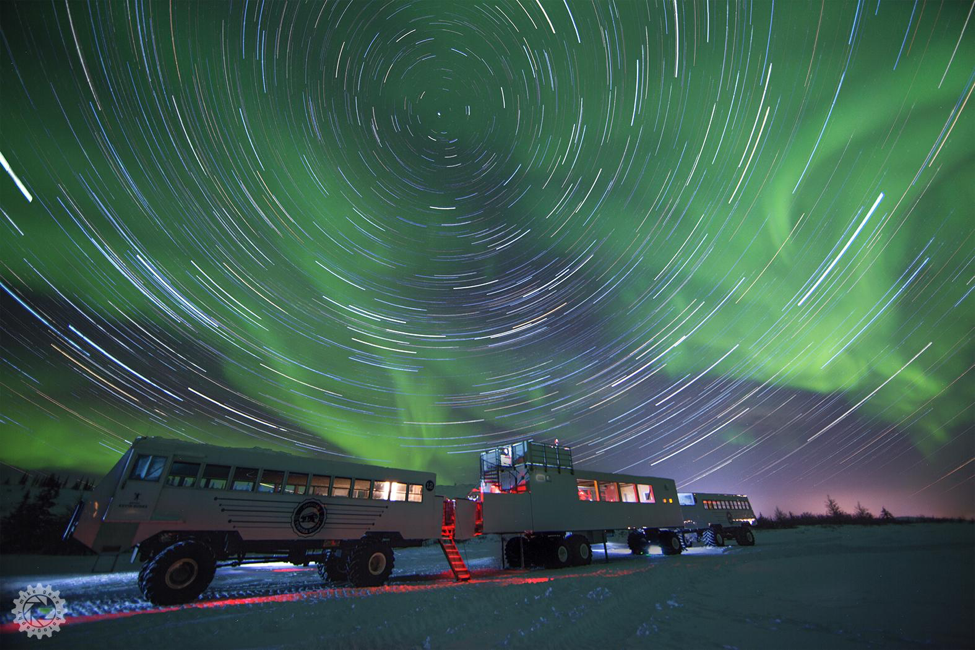
Your shutter speed determines how long your “film” is exposed to light (although most people aren’t using film these days!). A fast shutter means there is less light, and it freezes motion. And, obviously, a slow shutter means more light, and it captures movement. We recommend starting with a shutter speed of 15 seconds but you may want to play around with your shutter speed to find which look you like best!
The aperture affects your depth of field. As the northern lights are pretty far away, you’ll want your aperture on the smaller size—the smaller the aperture, the greater the depth of field. F4 is a good place to start. But again, different apertures will produce different results, and you may want to get creative and play around a bit before settling on aperture size.
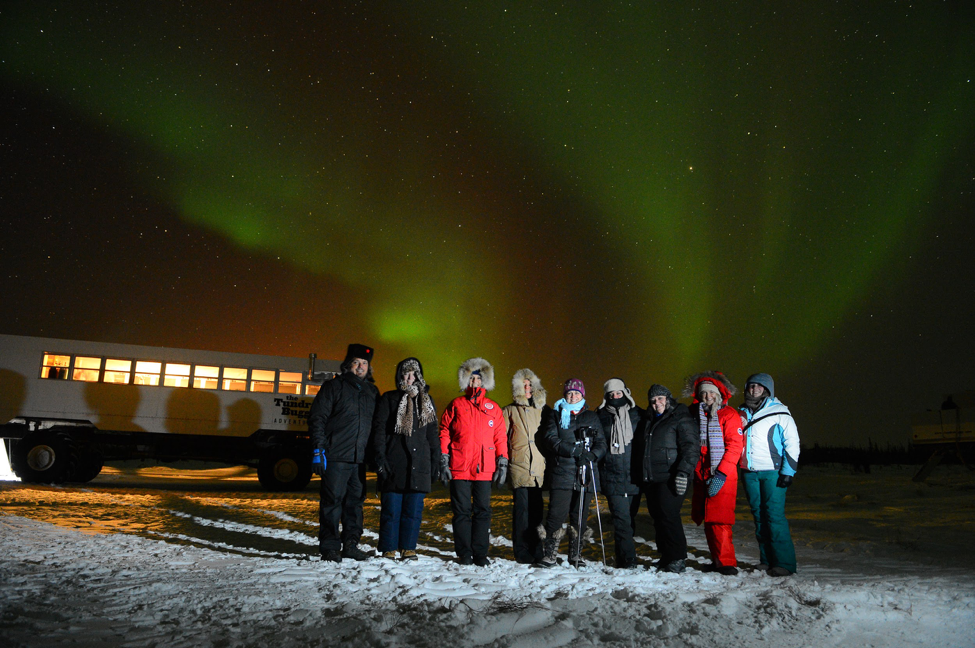
Looking to get a selfie with the northern lights in the background? Using your camera’s timer and flash, you’ll be able to get that picture of you and your friends with the aurora borealis swirling above. Does it get any cooler than that?
4. A little bit of camera tinkering goes a long way…
First, figure out if you will be shooting in RAW or JPEG format. RAW is a higher resolution than JPEG, which means it can also take longer to process for certain features. If shooting RAW, turn off any “noise reduction” features in your camera’s menu. If shooting in the JPEG format, you can keep them on.
Focus is incredibly important when it comes to photographing the northern lights. There are two ways to find the right focus — manually or with the “Live View” screen. If you choose to manually focus, find an object with your headlight and focus one third into the field of view. If you choose to use the “Live View” screen, find the brightest star in the sky, zoom in on it, and manually focus. Then turn off the “Live View” setting and don’t touch your zoom and focus.
Other features to consider include the “Mirror Lock-up” setting, will help reduce vibrations creating blurry pictures. Also, see if your camera has a horizon setting; if not, use the bubble on your tripod to level your camera.
5. If the idea of taking northern lights photos seems daunting, hire a professional to help!
Not sure what to do with a tripod? Have no clue how to make your camera focus? Or are you just eager to take the best possible photos of the northern lights that you can? Consider using a travel company with a photography expert to ensure you get the highest quality pictures possible. After all, if you travel all the way to Canada’s North to see the aurora borealis, you will want to leave with awesome pictures! And with the high cost of travel, you want to be sure you’re getting the most bang for your buck.
Having a photography expert along for your excursion will ease your mind. You can enjoy the colourful and awe-inspiring aurora borealis while capturing amazing images at the same time when you have an expert’s help. They can help you set up your camera on your tripod, adjust the settings and focus, and even snap a few pictures for you as a “safety.”
Not only do you have to worry about your camera’s settings, you also have to think about the elements. A northern lights photography guide knows exactly what to expect in the subarctic weather. You can trust that they will give you the expertise needed for outstanding pictures.
The Northern Lights Await…
Ready to point, click, and shoot the northern lights? We’d love to have you in Churchill this year! Get in touch today to get your northern lights photography adventure booked today.
Want more information on our northern lights tours?